

2024 Part 1
Photo credit: Luke Hallett

Photo credit: Luke Hallett
Photo credit: Luke Hallett

Photo credit: Luke Hallett

Photo credit: Luke Hallett

Photo credit: Luke Hallett

Photo credit: Luke Hallett

Photo credit: Luke Hallett
Photo credit: Luke Hallett

Photo credit: Luke Hallett

Photo credit: Luke Hallett

Photo credit: Luke Hallett
Photo credit: Luke Hallett

Photo credit: Luke Hallett
Photo credit: Luke Hallett
Photo credit: Luke Hallett

Photo credit: Luke Hallett
Photo credit: Luke Hallett

Photo credit: Andy Brown Photography

Photo credit: Andy Brown Photography

Photo credit: Andy Brown Photography

Photo credit: Andy Brown Photography

Photo credit: Ben Hudson Smith Photography

Photo credit: Ben Hudson Smith Photography
Photo credit: Ben Hudson Smith Photography

Photo credit: Ben Hudson Smith Photography

Photo credit: Ben Hudson Smith Photography

Photo credit: Ben Hudson Smith Photography

Photo credit: Ben Hudson Smith Photography

Photo credit: Ben Hudson Smith Photography

Photo credit: Ben Hudson Smith Photography

Photo credit: Ben Hudson Smith Photography

Photo credit: Ben Rowsell Photography

Photo credit: Ben Rowsell Photography
Photo credit: Ben Rowsell Photography

Photo credit: Ben Rowsell Photography

Photo credit: Ben Rowsell Photography
Photo credit: Ben Rowsell Photography

Photo credit: Ben Rowsell Photography

Photo credit: Ben Rowsell Photography
Photo credit: Ben Rowsell Photography

Photo credit: Ben Rowsell Photography
Photo credit: Blake Storm Photography

Photo credit: Blake Storm Photography

Photo credit: Blake Storm Photography

Photo credit: Blake Storm Photography

Photo credit: Blake Storm Photography

Photo credit: Blake Storm Photography
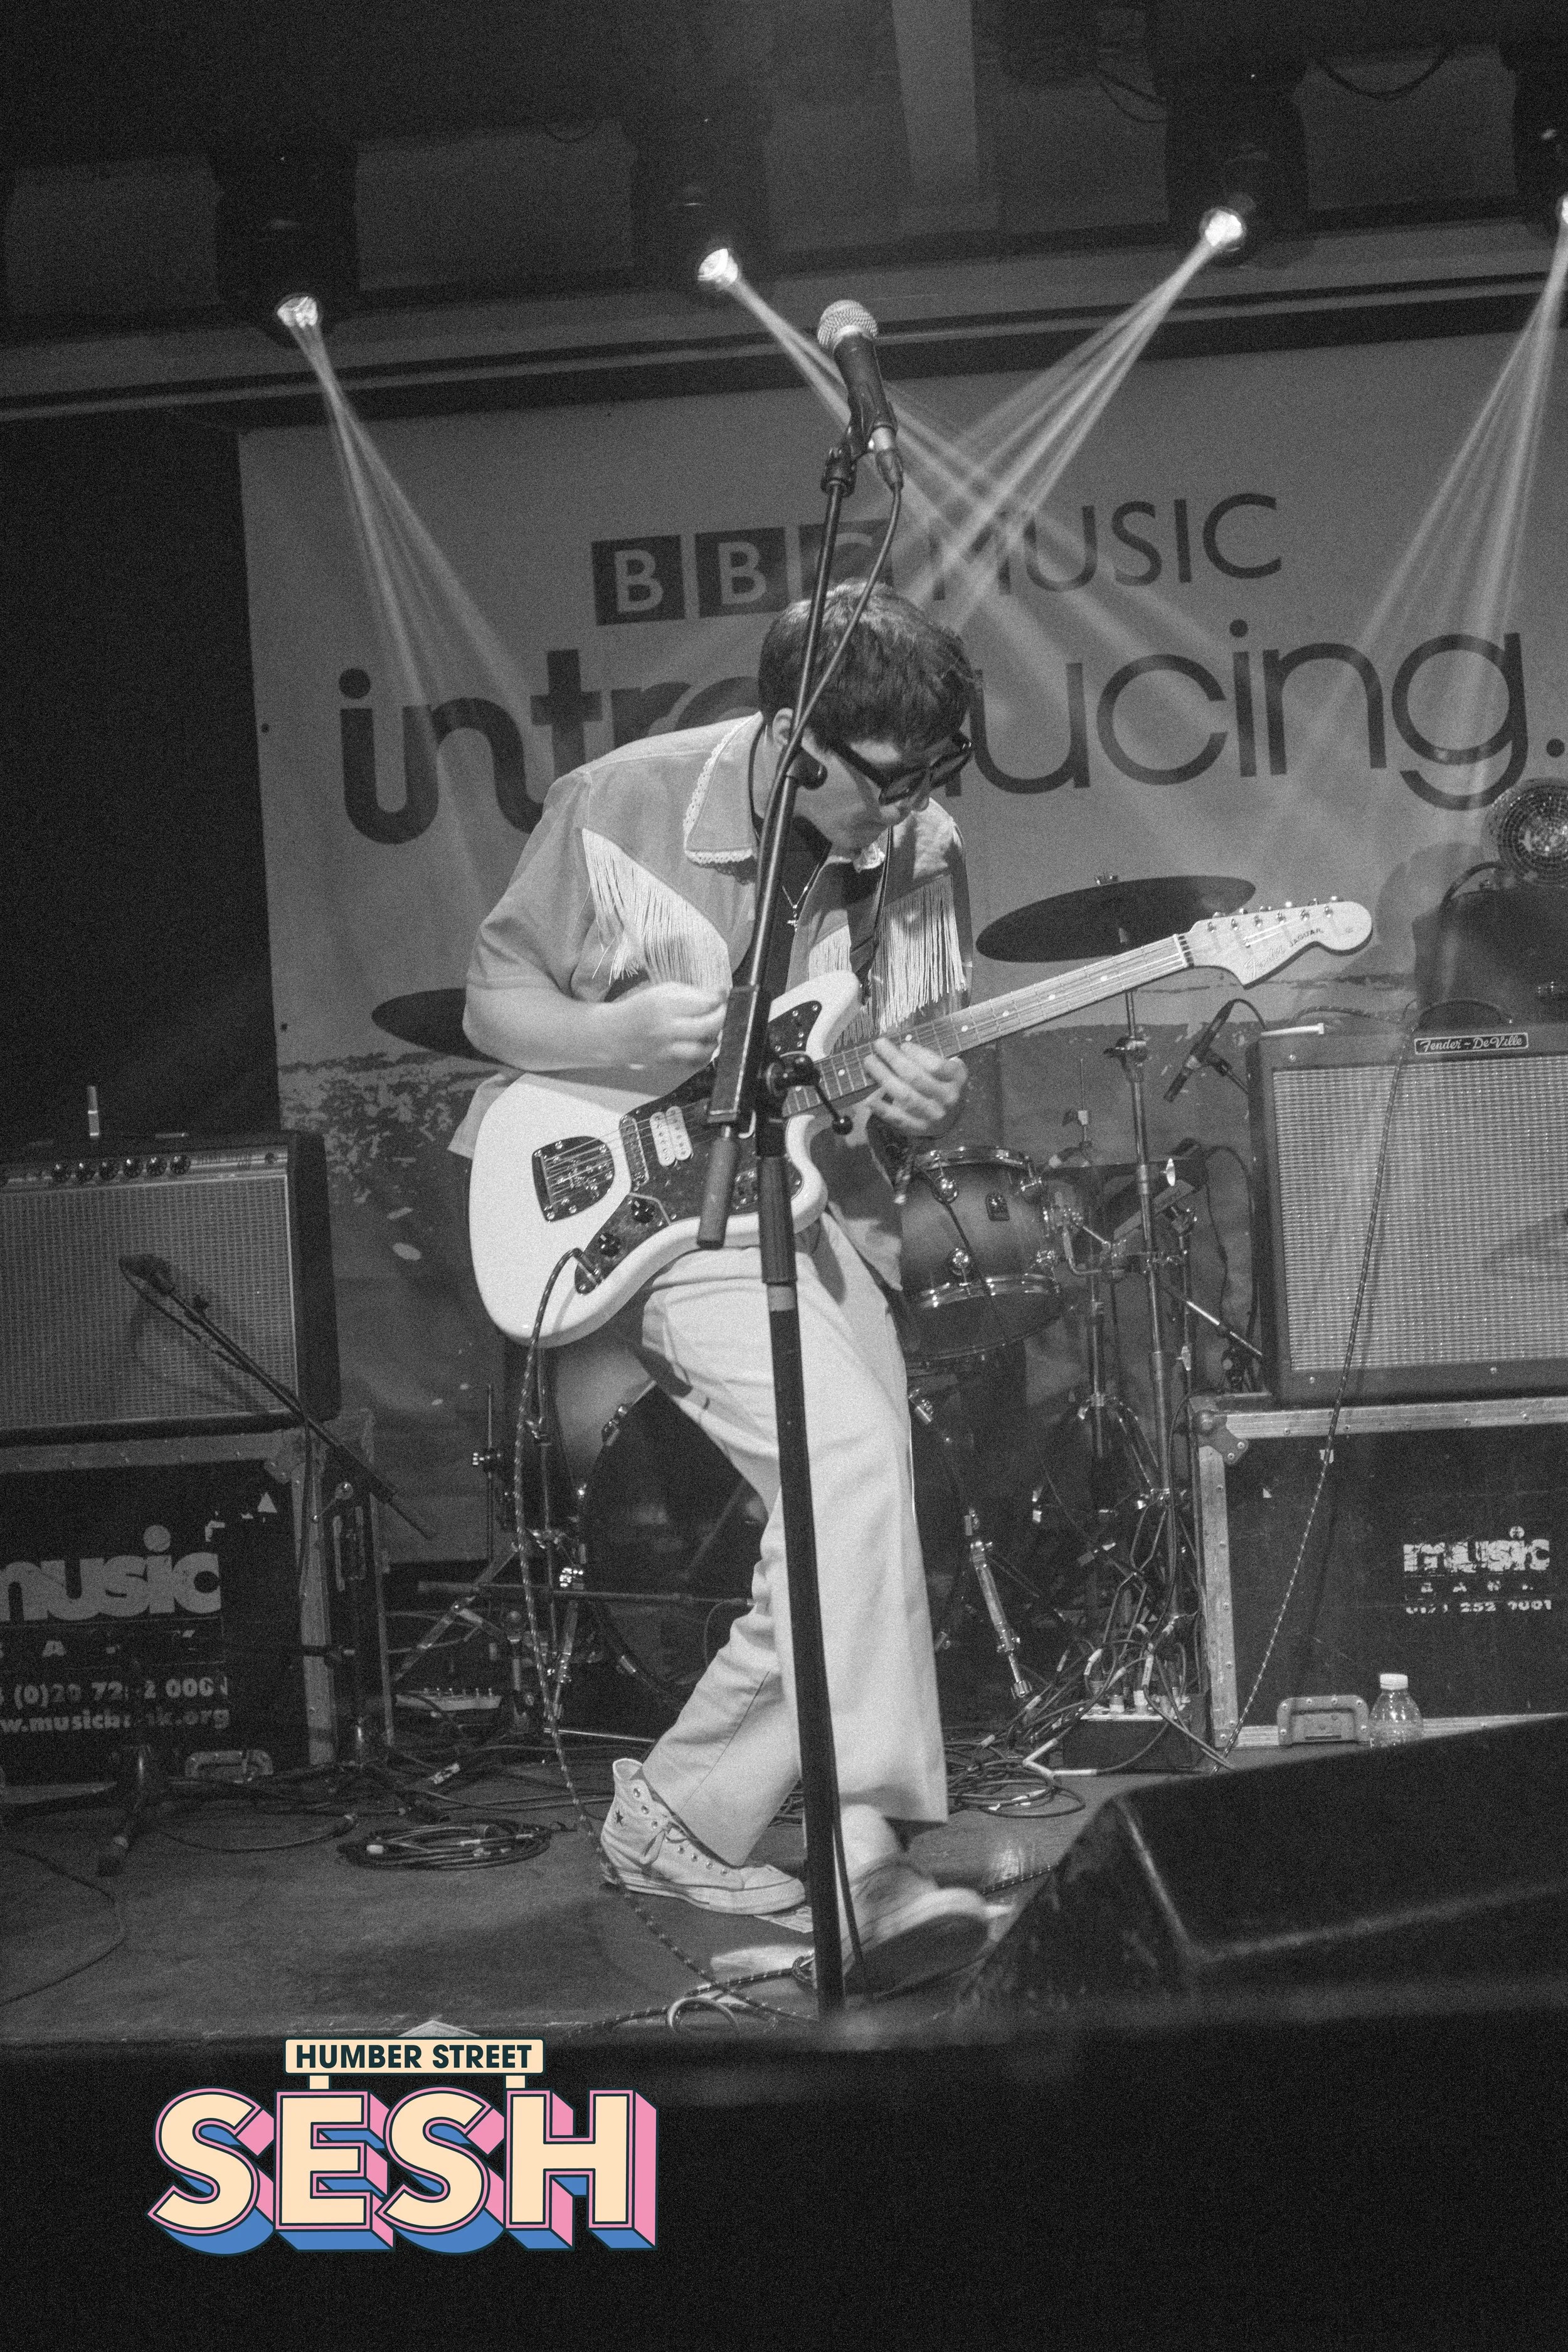
Photo credit: Blake Storm Photography

Photo credit: Conrad Noble Photography

Photo credit: Conrad Noble Photography
Photo credit: Conrad Noble Photography

Photo credit: Conrad Noble Photography

Photo credit: Conrad Noble Photography

Photo credit: David Drasdo Photography

Photo credit: David Drasdo Photography
Photo credit: David Drasdo Photography

Photo credit: David Drasdo Photography

Photo credit: David Goundry Photography

Photo credit: David Goundry Photography
Photo credit: David Goundry Photography
Photo credit: David Goundry Photography

Photo credit: David Goundry Photography

Photo credit: David Goundry Photography

Photo credit: David Longbottom Photography
Photo credit: David Longbottom Photography

Photo credit: David Longbottom Photography

Photo credit: David Longbottom Photography

Photo credit: Ellie Barnett White Photography
Photo credit: Ellie Pockley Photography

Photo credit: Ellie Pockley Photography
Photo credit: Ellie Pockley Photography
Photo credit: Harvey Sewell Photography
Photo credit: Harvey Sewell Photography

Photo credit: Harvey Sewell Photography

Photo credit: Heidi Bishoprick Photography

Photo credit: Heidi Bishoprick Photography

Photo credit: Heidi Bishoprick Photography

Photo credit: Holly Milner Photography

Photo credit: James Cooper Photography

Photo credit: James Cooper Photography
Photo credit: James Cooper Photography

Photo credit: James Cooper Photography
Photo credit: James Cooper Photography

Photo credit: James Howarth Photography

Photo credit: James Howarth Photography

Photo credit: James Howarth Photography

Photo credit: James Howarth Photography

Photo credit: James Howarth Photography

Photo credit: James Howarth Photography

Photo credit: James Howarth Photography

Photo credit: Jamie Collins Photography
Photo credit: Jamie Collins Photography
Photo credit: Jamie Collins Photography

Photo credit: Jamie Collins Photography

Photo credit: Jamie Collins Photography

Photo credit: Jamie Collins Photography

Photo credit: Jamie Collins Photography
Photo credit: Jess Bowden Photography

Photo credit: Jess Bowden Photography
Photo credit: Jess Bowden Photography

Photo credit: Jess Bowden Photography

Photo credit: Jess Bowden Photography

Photo credit: Kamil Listwan Photography
Photo credit: Kamil Listwan Photography

Photo credit: Kamil Listwan Photography

Photo credit: Kamil Listwan Photography
Photo credit: Kamil Listwan Photography
Photo credit: Kamil Listwan Photography

Photo credit: Kamil Listwan Photography
Photo credit: Kamil Listwan Photography

Photo credit: Kamil Listwan Photography
Photo credit: Kamil Listwan Photography

Photo credit: Kamil Listwan Photography

Photo credit: Kamil Listwan Photography

Photo credit: Kamil Listwan Photography

Photo credit: Kamil Listwan Photography
Photo credit: Ken Simmester Photography

Photo credit: Ken Simmester Photography

Photo credit: Ken Simmester Photography

Photo credit: Ken Simmester Photography

Photo credit: Kenny Drew Photography

Photo credit: Kenny Drew Photography

Photo credit: Kenny Drew Photography

Photo credit: Kenny Drew Photography

Photo credit: Kenny Drew Photography

Photo credit: Kenny Drew Photography
Photo credit: Kenny Drew Photography

Photo credit: Kenny Drew Photography

Photo credit: Kenny Drew Photography

Photo credit: Kenny Drew Photography

Photo credit: Kenny Drew Photography

Photo credit: Kenny Drew Photography

Photo credit: Lewis Danby Photography

Photo credit: Lewis Danby Photography

Photo credit: Lewis Danby Photography
Photo credit: Lewis Danby Photography

Photo credit: Lewis Danby Photography

Photo credit: Lewis Danby Photography